Your solar panels were supposed to cut your electric bill—not become another headache. But now one’s underperforming, output’s dropped 30%, and you’re staring at a quote for $800 just to “diagnose” it. Frustrating? Absolutely. Here’s the good news: how to repair a solar panel isn’t always a job for pros. Some fixes are shockingly simple—if you know what to look for.
Why Most DIY Solar Repairs Fail (Before You Even Start)
People grab multimeters, watch a YouTube video, and assume cracked glass or burnt wires are the culprits. Often, they’re not. The real issue hides in plain sight: microcracks invisible to the naked eye, junction box corrosion masked by weatherproof sealant, or PID (Potential Induced Degradation) slowly sapping voltage over months. And tampering without isolating the array? Dangerous. Lethal, even.
Manufacturers void warranties the moment you peel back the backsheet. So before you unscrew anything—ask: is this truly repairable or just replaceable?
How to Repair a Solar Panel: A Realistic Step-by-Step Guide
Not every panel can—or should—be fixed. But if it’s physically intact and just underperforming, follow this vetted process. No fluff. Just results.
Step 1: Diagnose Like a Technician—Not a Handyman
Use a thermal imaging camera (yes, phone attachments exist now) to spot hot spots. Check open-circuit voltage (Voc) and short-circuit current (Isc) against spec sheets. If readings are within 5% of rated values? The panel’s likely fine—the issue may be elsewhere: wiring, inverter, or shading.
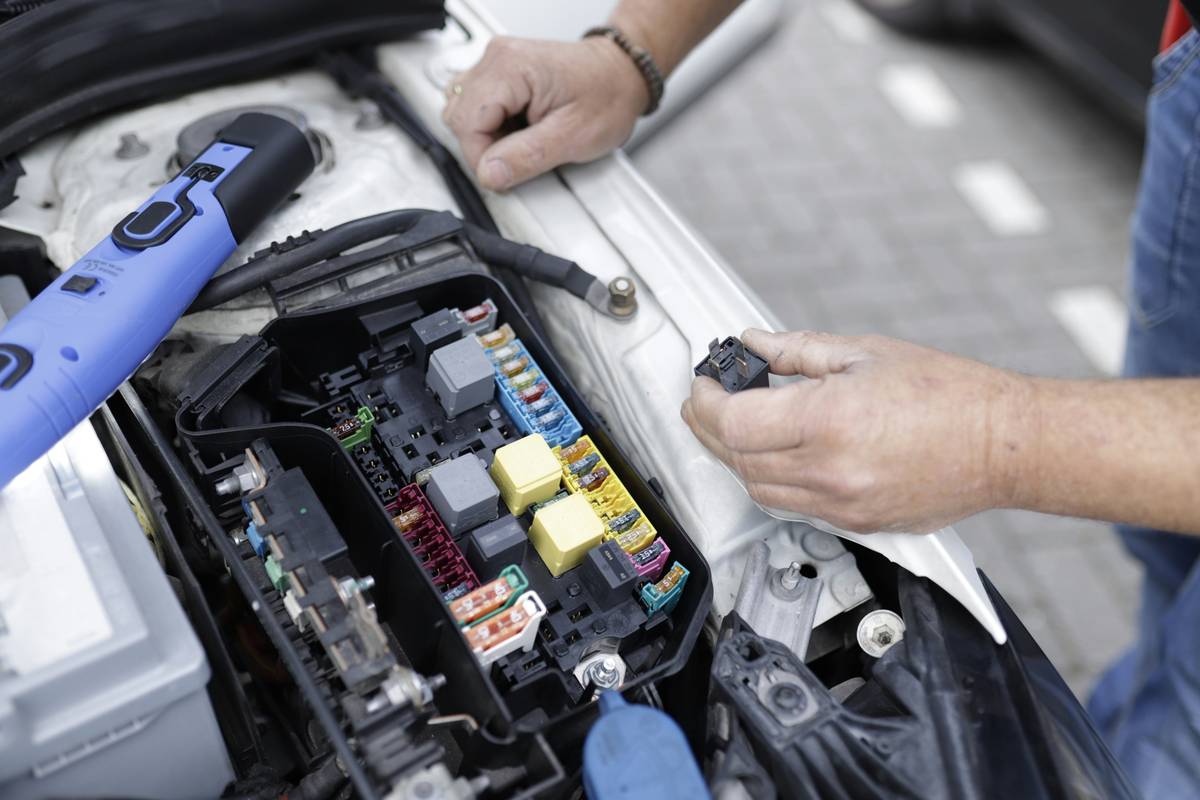
Step 2: Inspect Junction Boxes and Diodes
Most field failures trace back here. Remove the junction box cover (power OFF, system isolated). Look for burnt terminals, swollen bypass diodes, or melted solder joints. A faulty diode causes entire panel strings to drop output during partial shading. Replace it with an identical model—don’t guess specs.
Step 3: Assess Physical Damage—Don’t Patch Blindly
Minor frame dents? Usually fine. Cracked glass? Only acceptable if no moisture ingress and cells underneath are unbroken. But if you see discoloration (brown spots = delamination) or snail trails (dark lines across cells), stop. That panel’s degrading internally. No glue, tape, or resin will fix that long-term.
Step 4: Re-seal and Re-ground
If you opened the back or junction box, reseal everything with UV-resistant silicone rated for outdoor electronics. Then verify grounding continuity with a multimeter. Poor grounding invites lightning damage and accelerates corrosion.
| Issue Type | DIY Feasibility | Avg. Repair Cost | Replacement Threshold |
|---|---|---|---|
| Faulty bypass diode | High | $15–$40 | Any panel under 10 years old |
| Loose MC4 connectors | Very High | $0–$10 (new connectors) | Never replace—always fix |
| Microcracks / snail trails | None | N/A | Replace immediately |
| Junction box corrosion | Moderate | $30–$75 | If backsheet intact and cells functional |
The Industry Secret: When “Repair” Really Means “Bypass”
Here’s what installers won’t tell you: on older systems with mixed panels, sometimes the smartest move isn’t fixing the weak link—it’s isolating it. Use a string optimizer or microinverter to decouple the underperforming panel from the rest of the string. Output loss drops from 30% to 5%. Costs less than replacement. And you buy time until the whole array gets upgraded. It’s not purist—but it’s pragmatic. And it works.
Frequently Asked Questions
Can I repair a cracked solar panel myself?
No. Cracks compromise the hermetic seal, allowing moisture that corrodes cells. Output degrades fast. Replace it.
What causes solar panels to stop working suddenly?
Usually a failed bypass diode, loose wiring, or inverter fault—not the panel itself. Always test the full circuit first.
Is it worth repairing old solar panels?
Only if under warranty or less than 8 years old. Beyond that, efficiency loss and labor rarely justify repair over replacement.